There’s nothing quite like the show-stopping beauty of a Bird of Paradise plant (Strelitzia Nikolai) with its large, tropical foliage. But when your prized plant starts leaning to one side, it can really put a damper on its magnificent appearance. Luckily, there are some simple steps you can take to straighten up a leaning Bird of Paradise and restore its stately elegance.
In this post, I’ll walk through the reasons why your Bird of Paradise plant may be leaning and provide step-by-step instructions for fixing the problem using just a few basic supplies. With a little care and the right techniques, you can get your plant standing tall and proud once again!
Why is my Bird of Paradise leaning?

There are a few common reasons that can cause a Bird of Paradise plant to start leaning to one side:
1. Reaching for light
Like many plants, Birds of Paradise naturally lean towards their light source. If you aren’t rotating your plant regularly, the leaves and stem will bend in the direction of the strongest light over time, creating that lopsided look.
2. Low soil level
When the soil level gets too low in the pot, it reduces the ability of the roots to properly anchor and support the weight of the plant above. This lack of stability in the soil can cause the entire plant to lean or topple over.
3. Top heaviness

The large, heavy leaves of the Bird of Paradise put a lot of weight on the top. Without adequate support, such as a deep enough pot to stabilize the plant or stakes to help support its stems, the plant’s stems may start bending under this top-heavy burden, or the whole plant will start leaning.
Supplies needed to straighten the Bird of Paradise plant
To straighten and support your leaning Bird of Paradise, you’ll just need to gather a few basic items:
- Garden stakes (Bamboo or Metal)
- Pruners and scissors
- Raffia, plant ties, or soft rope
- Potting mix (if adding soil)
Step 1: Prepare the support stakes
Bamboo Stakes: Start by cutting one end of your bamboo stakes to a sharp angle using pruners. This angled tip will allow you to insert the stakes into the soil around your plant easily.


Metal Stakes: These stakes come with a sharp tip on one end and do not need an angle cut.

You’ll need one stake for each main stem or section that is leaning.
Step 2: Insert the stakes
Working with one leaning stem at a time, gently pull it back to an upright position and hold it straight. Position a bamboo stake or metal stake behind the stem, and push it vertically into the soil at the spot where it will best support that leaning area when attached.
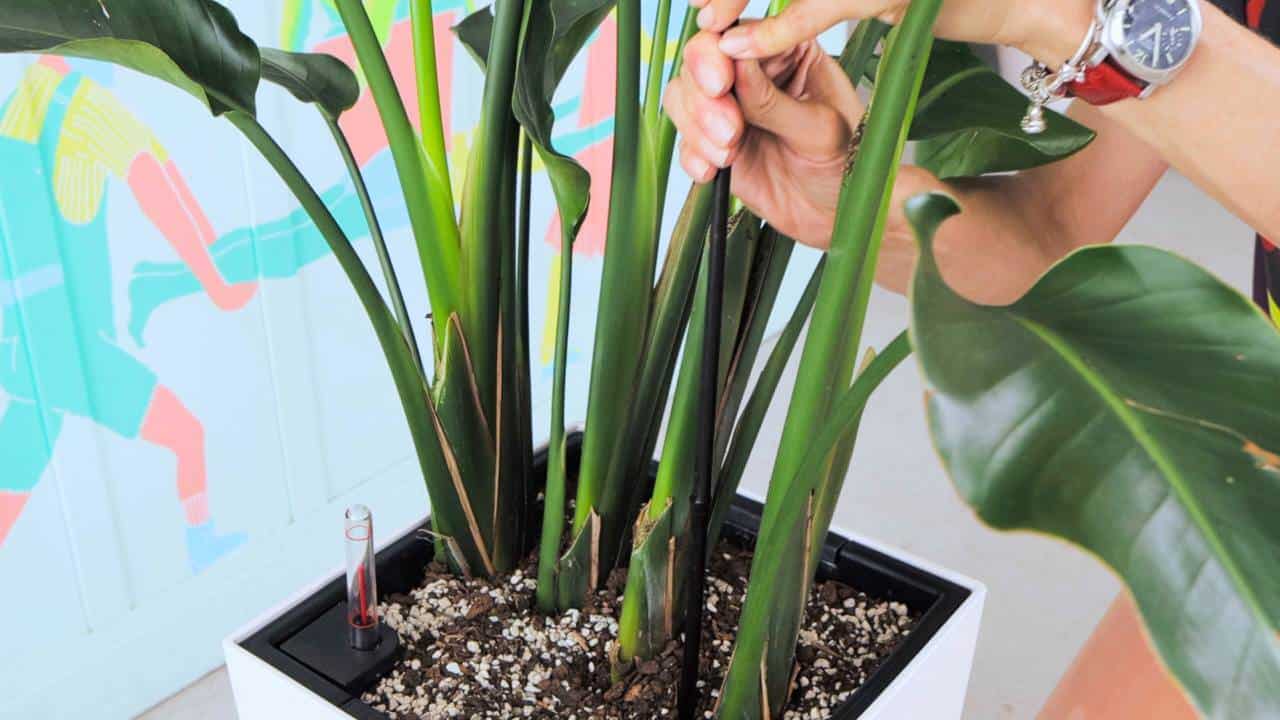
The stake should slide relatively smoothly into the soil when angled properly. If you meet too much resistance, try another spot until the stake can be securely anchored.
Step 3: Attach the stem to the stake
With the stem held upright and the stake in place, use your raffia or plant ties to secure the stem against the stake. Make sure the ties are snug enough to hold the stem’s position but not so tight, avoiding excessive pressure that could harm the stem as the plant grows.
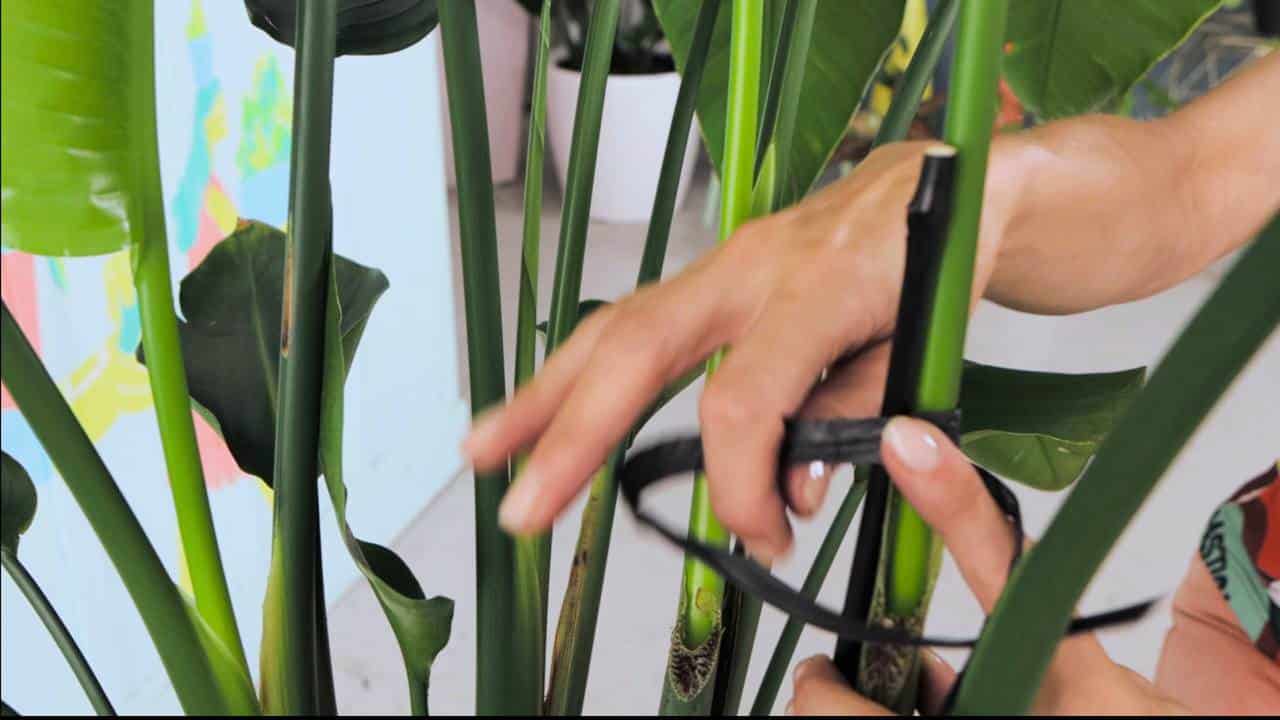
Attach the raffia in a few spots of the stem to keep the stem straight and provide enough support. Position the knot towards the back to keep the front view as clean and natural-looking as you can. Use sharp scissors to trim any excess raffia ends.

Step 4: Adjust stake height
Once the leaning stem is properly anchored to the stake, check if the stake is now sticking up too high above the top of the plant. If you used bamboo stakes, you may cut off the excess stake height using your pruners, leaving just a small part of the stake extending past the highest point of the plant so the tie does not slip off.

If you decide to use metal stakes, measure the height of the straightened-up stem first before selecting the proper stake length. This minimizes the issue of having an unsightly tall stake poking up.
Step 5: Repeat for all leaning stems
Work section by section, repeating the stake insertion, and stem attachment process for each leaning stem until the entire plant is straightened and supported where needed.
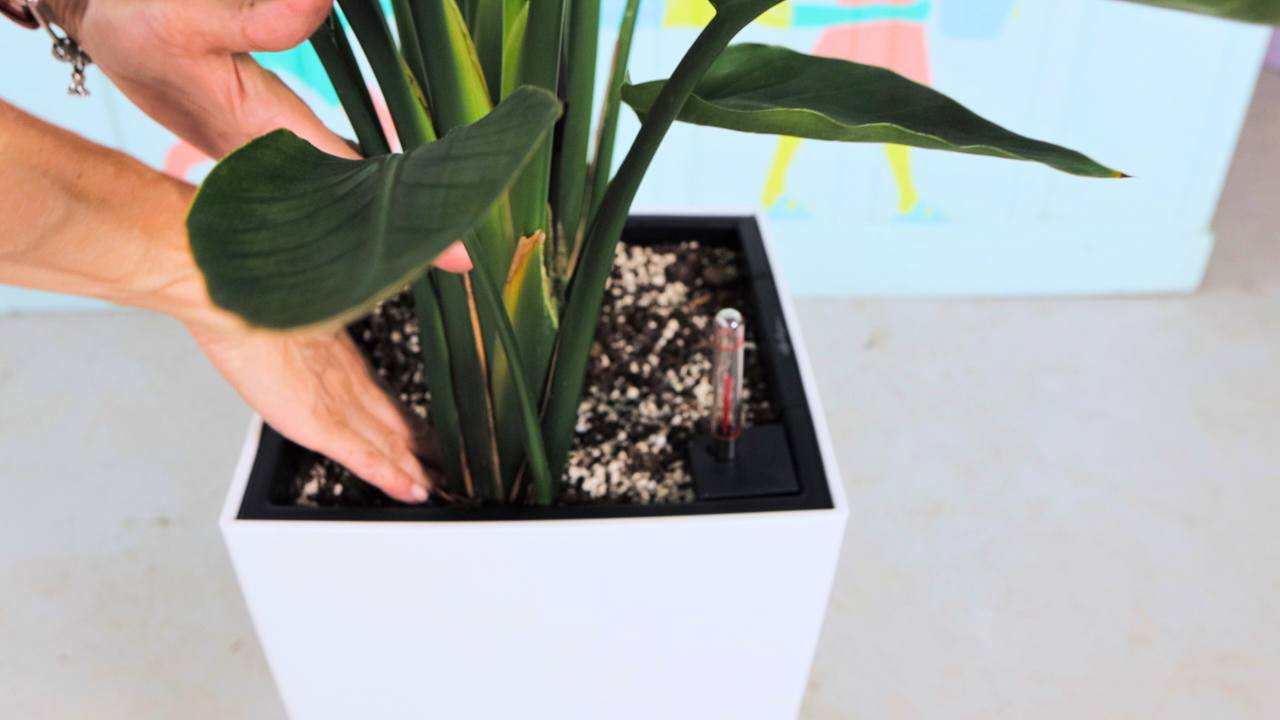
Step 6: Add soil if necessary
If the soil level is too low, you’ll need to top it up with a fresh potting mix once the staking is complete. Gently but firmly push the potting mix around the base of the plant and cover any exposed surface roots to provide additional stability.
For smaller plants or those that have recently begun to lean, where staking isn’t necessarily required, you may be able to correct the leaning issue simply by straightening the stems or the whole plant at the base, and compacting soil around the base and stems to hold the plant in an upright position.
Tips for maintaining an upright Bird of Paradise
To prevent your Bird of Paradise from developing that undesirable lean again, keep these tips in mind:
– Rotate your plant: Make it a habit to regularly turn your plant’s pot every 2-3 weeks to ensure equal access to light from all sides. This allows for balanced, upright growth.
– Keep soil at the proper level: Be diligent about replenishing the soil when it gets too low in the pot. Exposed stems and roots can’t adequately anchor a top-heavy plant.
– Repot if needed: If your plant is very tall and potted in a disproportionately small pot, consider repotting it in a deeper pot to provide more stability.
– Check support ties: Every few weeks, check the ties securing the stems to stakes, as they may become too tight as the plant grows. Loosen or replace the ties as needed, and tighten them to a different spot if necessary.
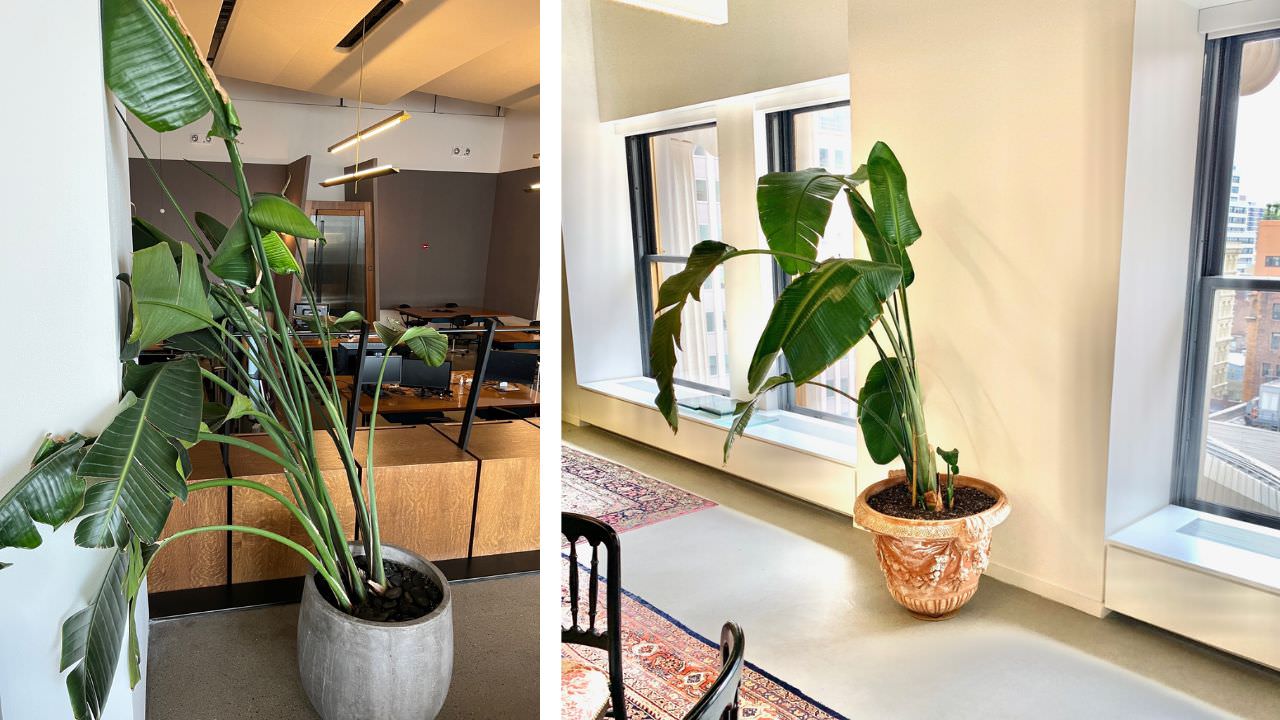
With its dramatic, architectural form, the Bird of Paradise makes such a statement wherever it’s displayed. Follow these simple steps to solve any learning issues, and you’ll be able to enjoy the full glory of this regal tropical beauty in your home or garden!
Check our other posts about Bird of Paradise plants: